- wood hangers
- sand paper (for finished wood hangers)
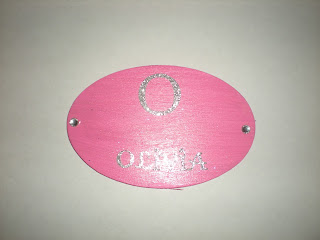
- small wooden plaques
- wire (bent into name)
- acrylic paint
- acrylic paint sealer/top coat
- scrapbook letter stickers
- silver Sharpie (optional)
- rhinestone stickers (optional)
- ribbon
- jewelry wire
Instructions
1. If you're using finished wood hangers (most sold in stores are), you'll need to sand off the top coat or the paint won't stay on. It only takes a small piece of sand paper per hanger and about five minutes. Once the hanger looks dull, the top coat is off.
2. Paint each hanger and wooden plaque, depending on the color you may need two (or more) coats.
3. After they dry, add the letter stickers on the front of the hanger in the center (I did the girls' bridal party roles) and to the plaques (this is where I put their names).
4. Write the wedding date on the back of the wood plaque with Sharpie.
5. Apply the sealer on top of the letters so that they are really adhered to the hangers and plaques.
6. If you choose to do so, add the rhinestones (or other embellishments) once the sealer has dried.
7. Use the ribbon to tie a bow and string a small piece of the jewelry wire into the bow.
8. Wrap the wire around the hanger handle so that the bow is at the front.
9. Drill two holes in each wood plaque and string the ribbon through creating a loop, tying large knots at the back. (If using satin ribbon, burn the edges so that it doesn't run or rip.
10. Hang the plaque around the back of the hanger so that the name faces front.
For instructions with pictures, click here.


